Choose products that look great, protect your home, and hold up to daily life.
In today’s article, we expand a bit on the ‘Bathroom remodeling: a start-to-finish guide’ we published last week, and help show you how to select tile, fixtures, and a ventilation plan that complement each other. Making these decisions early is a core part of successful bathroom remodeling, where layout, safety, and long-term performance all depend on clear guidance and proper coordination. You’ll learn what to check on the label, what to confirm in the specs, and how to avoid costly mistakes that will cause redoing work later. These choices make more sense when you understand the start-to-finish planning process and how early selections affect later steps.
Most fixture and finish problems aren’t style issues, planning issues that surface when measurements, rough-ins, and system compatibility are decided way too late or without an experienced contractor.
TL;DR:
- Pick floor tile with proven slip resistance, and size it smartly for wet zones.
- Verify fixture rough-ins from the manufacturer’s spec sheet before walls close.
- Plan mechanical ventilation that exhausts outdoors, sized for your room.
- Use small, durable choices to prevent big, expensive changes later.
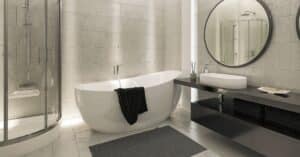
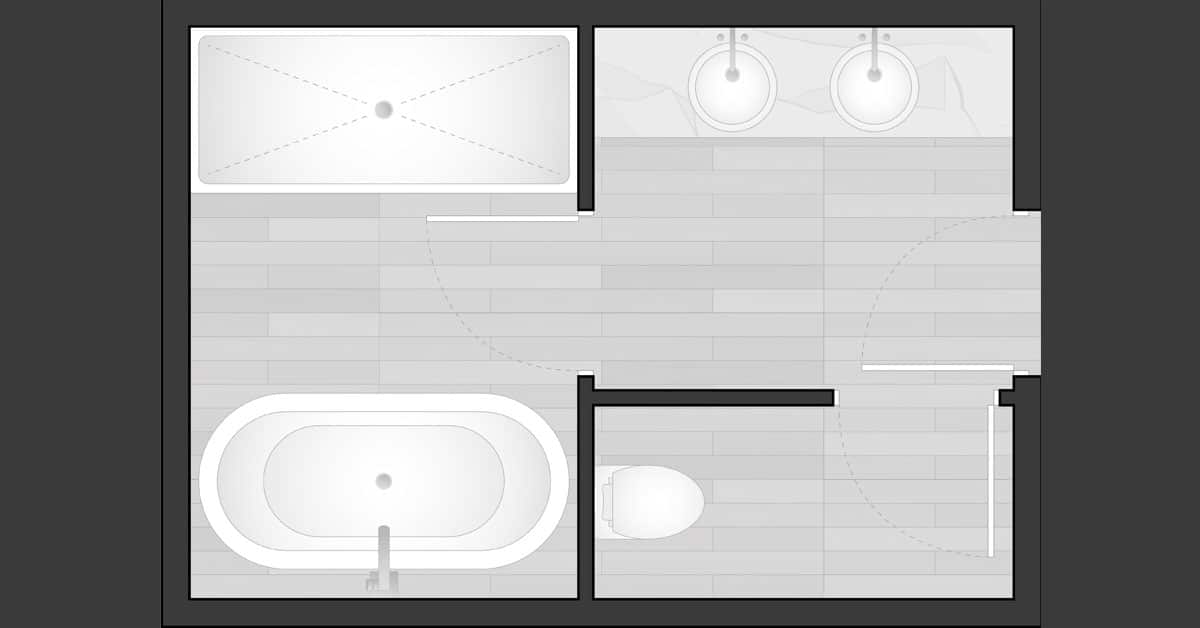
Floors that grip, not slip
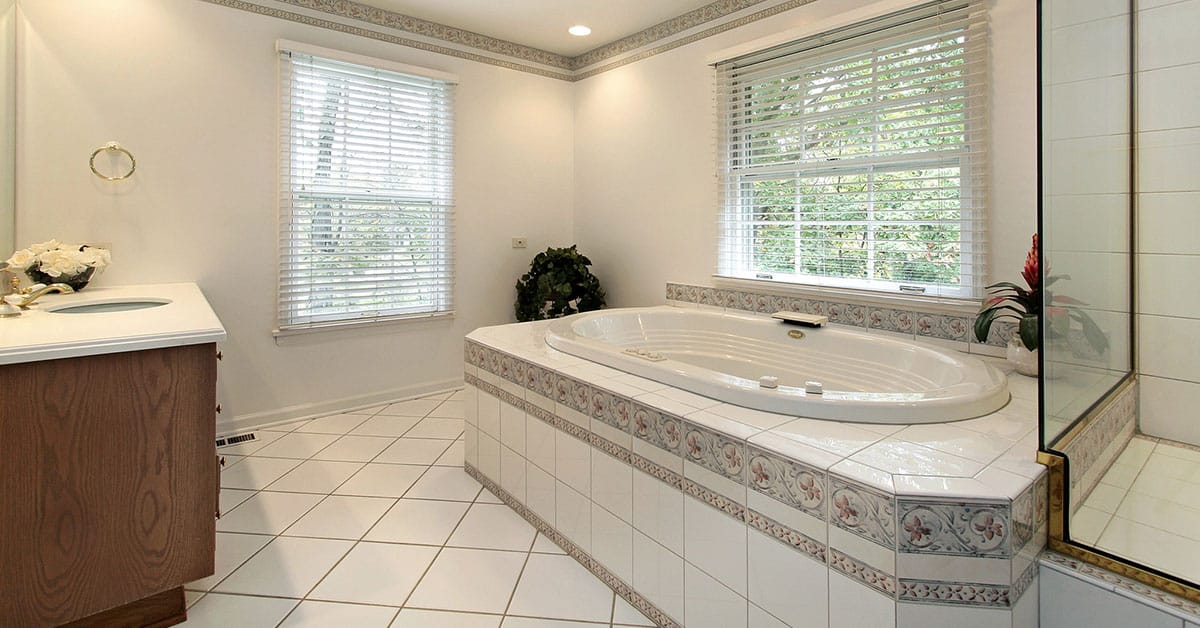
If a floor gets wet, it should still feel steady under your feet. For showers and bath floors, look for tile that meets an industry slip-resistance standard, and consider smaller formats or mosaics. The extra grout lines create texture, which helps with footing in soapy conditions.
Labels can be confusing, so focus on what the testing says. Slip-testing methods check how tile performs when wet, not just how it looks on a shelf. That is why a glossy tile can sometimes be safe enough, while a dull one might not meet expectations. Choose a style you love, then confirm the test results. If you are tiling a shower floor, mosaics often make the slope to the drain easier and the surface grippier.
According to the Tile Council of North America, tile slip testing gives you a real-world indicator of how a tile behaves under foot. Use that signal to narrow choices, then touch the samples. If they feel like ice when damp, keep looking. A good choice supports how your household actually uses the space, not just how it looks in a sample.
[Myth vs Fact]
Myth: High-gloss tile is always slippery.
Fact: The slip-resistance rating, not the shine, tells the story.
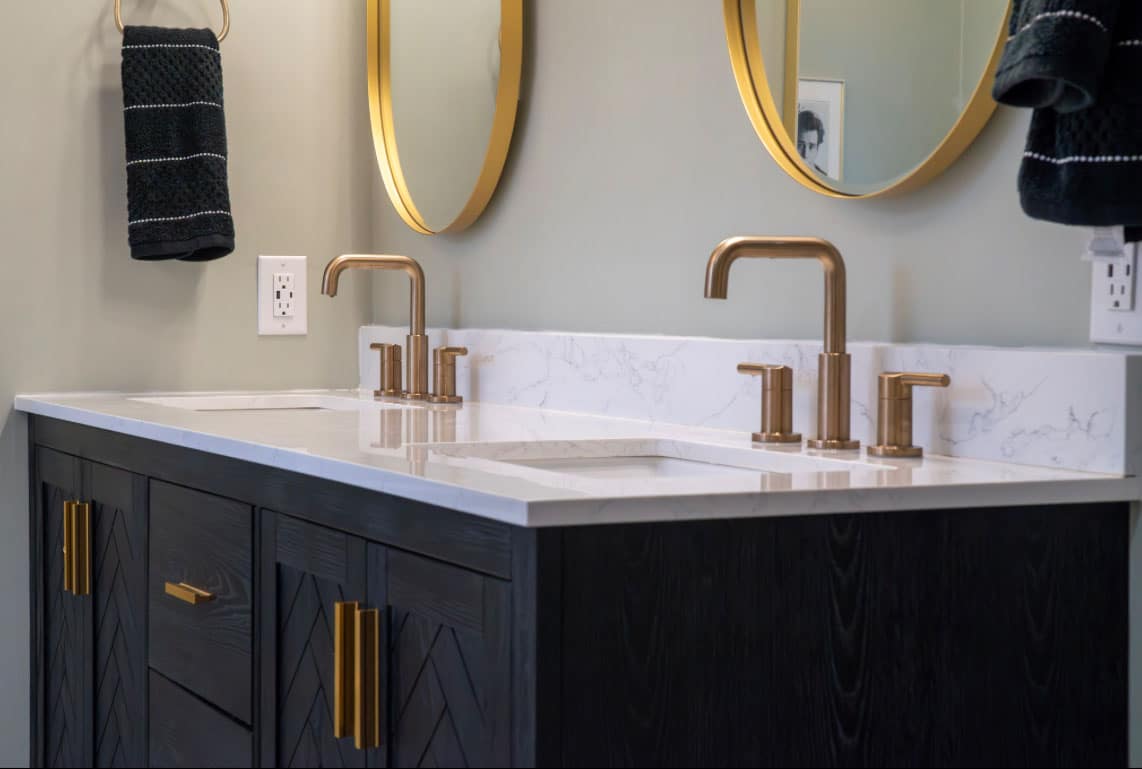
Fixtures that fit
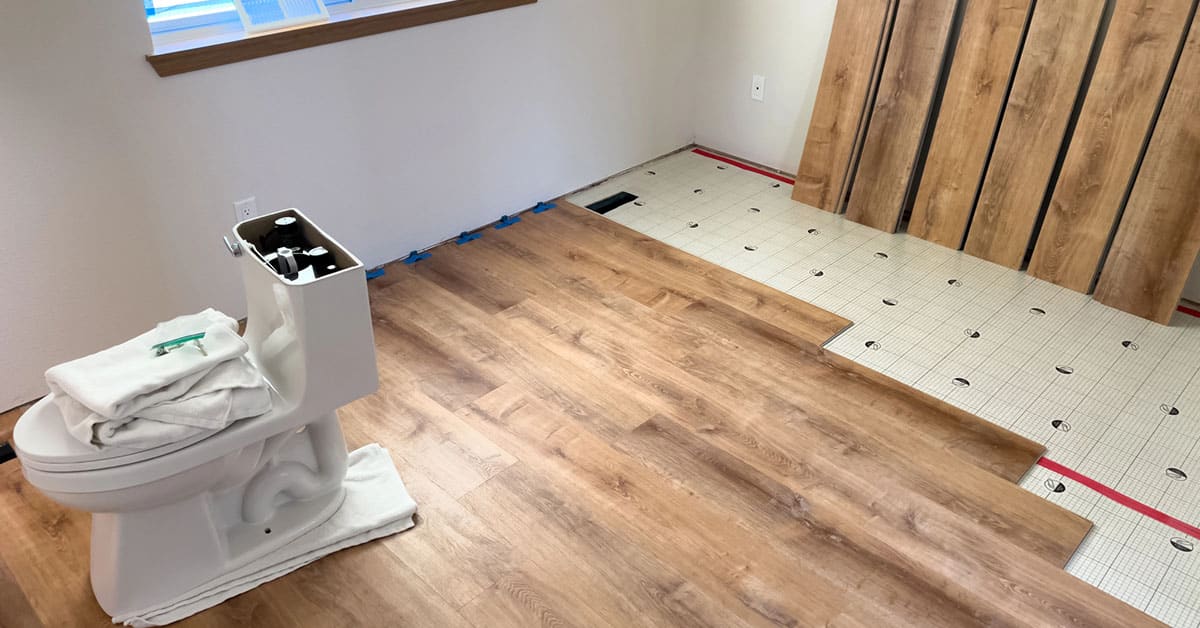
Pretty fixtures still have to fit the rough-in. Toilets, vanities, faucets, and valves all come with exact measurements for where pipes and supplies need to land. Before drywall goes up, compare your plan to each product’s spec sheet. That five-minute check prevents cut-and-patch work later and helps avoid costly surprises caused by mismatched rough-ins. This is where having someone walk through the details with you can prevent small oversights that turn into lasting frustrations.
Toilets are a good example. Many models are designed for a common rough-in distance from the wall, but “most” is not “all.” A quick glance at the manufacturer’s drawing confirms the distance, the water-supply location, and any clearance notes. Skirted bowls may include adjustable adapters that help with odd layouts, which can save you from moving a flange.
The same logic applies at the vanity. Confirm the sink centerline, drain height, and faucet type. If you are adding a wall-mount faucet, mark the finished wall height, not the stud height, so trim lands where you expect. For showers, check the mixing-valve depth, the arm location, and the accessories you want, like a hand shower or slide bar.
[Pro Note]
Print the spec sheets and tape them to the room’s walls and mark centerlines and heights right on the paper. It keeps everyone aligned and speeds inspections, especially when we highlight what inspectors look for during bathroom remodels.
Ventilation that actually works
Good ventilation keeps mirrors clear, paint intact, and moisture out of the walls. A bathroom needs a mechanical fan, and the duct should send air outdoors, not into an attic. This protects the rest of the home and helps finishes last, according to the International Code Council.
Sizing matters. A fan should be selected for the size of the room and how it is used. Long or twisty ducts reduce airflow, so plan a short, smooth route with a tight exterior cap. These details are easy to miss and hard to correct later without experienced planning. If your family takes back-to-back showers, consider a quiet fan with a timer so it keeps running after you leave. The Home Ventilating Institute offers simple guidance for choosing fan capacity based on room size, according to the Home Ventilating Institute.
[Safety Tip]
Undercut the bathroom door a bit so the fan can pull in fresh air. Without makeup air, even a strong fan will struggle.
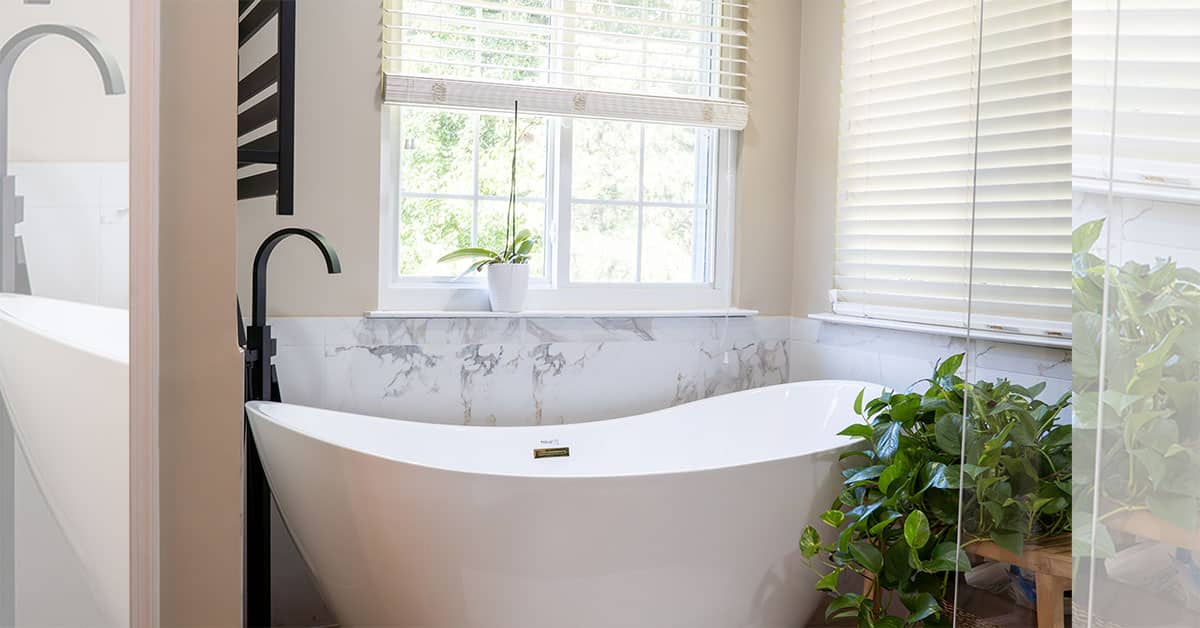
Smart style, smart performance
Looks matter, but durability keeps you happy years later. In high-splash areas, choose finishes that clean easily. For the shower, pair the right tile with a compatible grout, and use flexible sealant where surfaces meet so corners do not crack. In the main floor area, a larger format tile can feel sleek, while a smaller pattern in the shower adds traction.
Think about “family flow” too. If kids use this bathroom, choose solid-surface counters that wipe clean and cabinet hardware that is easy to grab. In a primary suite, consider dimmable lighting and warm-tone bulbs that are gentle first thing in the morning. None of these choices are flashy, yet they are the decisions you will ‘feel’ every day. Getting them right the first time helps you avoid second-guessing choices once the room is finished and in use.
Frequently asked questions
How do I know if a floor tile is safe for wet areas?
Look for a slip-resistance test result on the spec sheet, and handle the sample with damp hands. For shower floors, mosaics often help because the grout lines add texture. If a tile feels slick in the store when wet, it will feel slick at home too. Keep looking.
Do all toilets use the same rough-in?
No. Many toilets share a common rough-in distance, but not all. Always check the manufacturer’s drawing for the rough-in, water-supply location, and any clearance notes. If your layout is tight, skirted bowls with adapters can solve small gaps without moving plumbing.
Does my bathroom need a fan if I have a window?
Yes. A window helps, but a mechanical fan provides consistent moisture removal and protects finishes. Choose a fan sized for your room, route the duct outdoors, and use a timer so it runs after a shower. This combination keeps humidity down and mirrors clear.
What should I confirm before walls close?
Verify fixture locations against the spec sheets, including toilet rough-in, valve depth, and vanity plumbing. Check that the fan and duct are installed as planned, and that the door has a small undercut for airflow. Taking five minutes now prevents holes and delays later.
What to do next
Bring three things to your selection meeting: tile samples you like, printed spec sheets for your fixtures, and a simple plan for the fan and duct route. We will check fit, function, and airflow together, answer questions along the way, then lock in choices that look great, feel safe, and last.
Sources
- Tile Council of North America — DCOF Overview — https://tcnatile.com/resource-center/dynamic-coefficient-of-friction/ — 2025-09-08
- International Code Council (ICC) — IRC Chapter 15: Exhaust Systems — https://codes.iccsafe.org/content/IRC2021P1/chapter-15-exhaust-systems — 2025-09-08
- Home Ventilating Institute — Bathroom Ventilation Sizing — https://www.hvi.org/resources/publications/home-ventilation-guide-articles/how-much-ventilation-do-i-need/ — 2025-09-08
- Kohler — K-3999 Highline Spec Sheet (rough-in example) — https://resources.kohler.com/onlinecatalog/pdf/K-3999_spec.pdf — 2018-09-28
- TOTO — Nexus MS642124CEFG Spec Sheet (rough-in example) — https://www.totousa.com/filemanager_uploads/product_assets/SpecSheet/SS-01451_MS642124CEFG.pdf — 2024-11-01