Protect your home, keep dust contained, and start demo with confidence.
Making some smart choices before you start will help make your bathroom remodel run smoother from demo to finish. Prep your home so dust stays contained, surprises are caught before they happen, and the schedule stays on track. Most schedule delays happen before work begins, when access, protection, and early decisions are incomplete or overlooked.
TL;DR:
- Set up pathways, containment, and protection before a single tile comes up.
- Clear the room, label valves and breakers, and stage a cleanup zone.
- Open walls carefully, then verify framing and subfloor conditions before rebuilding.
- Photograph discoveries, note measurements, and keep a simple daily plan with your crew.
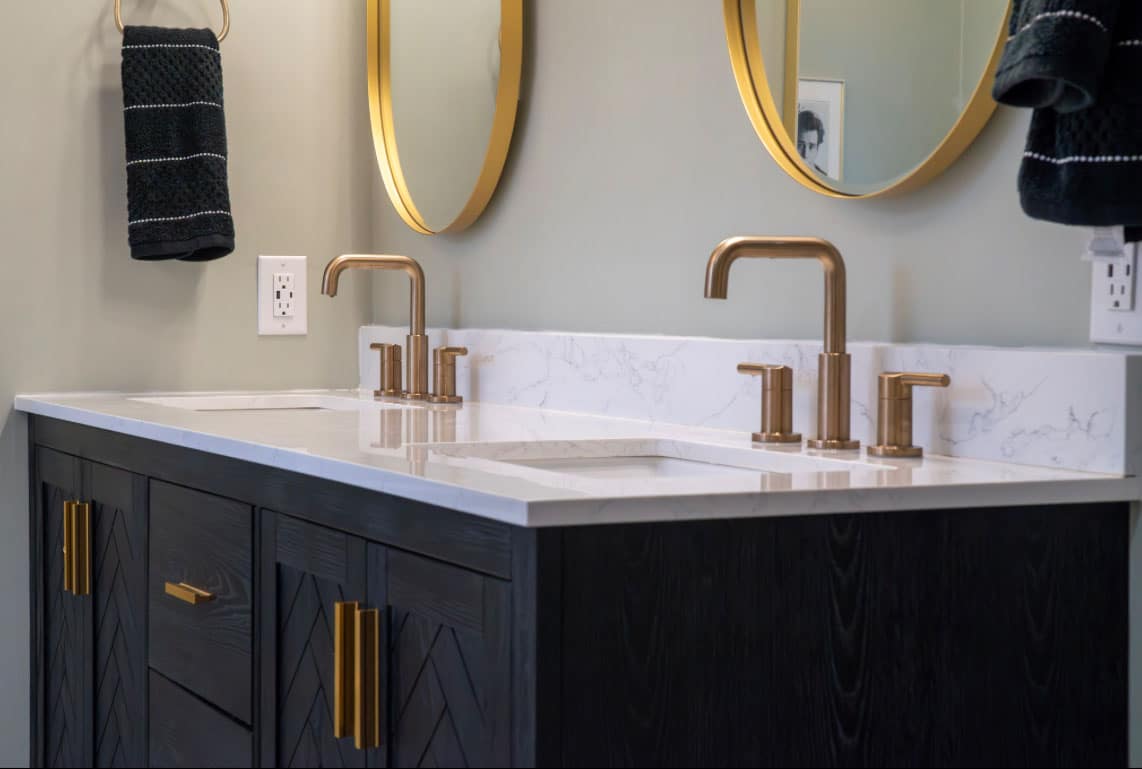
Protect the rest of your home before demo
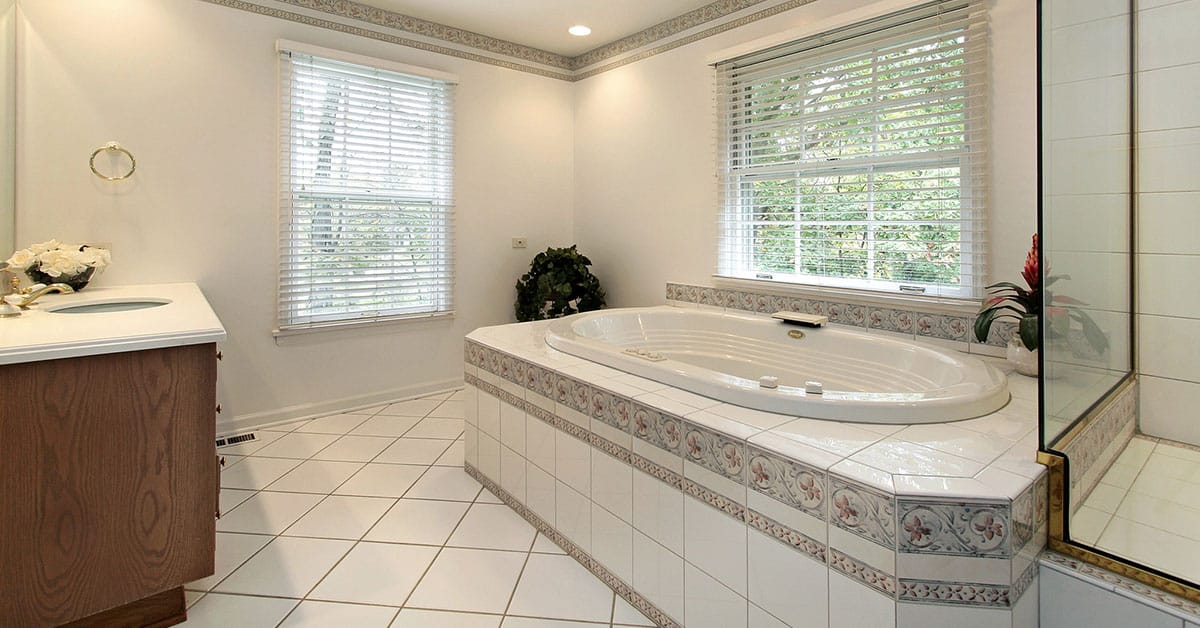
Good prep keeps mess small and momentum steady. Start by clearing the bathroom and the path to it. Remove décor and rugs, empty vanity drawers, and take down anything on nearby walls that might rattle. If you have pets or kids, plan temporary gates or a closed-door zone so the work area stays off-limits. This level of preparation is part of successful bathroom remodeling, especially when multiple trades need clean, reliable access to the space.
Next, set protection. Cover floors along the path to the bathroom with clean runners or protective boards, then add a zipper door at the work entry. A small negative-air fan pulling air out of the bathroom helps keep dust from drifting. Place a sticky mat at the threshold and a trash can just outside the room so debris never travels far.
Label shutoffs and breakers now, not during demo. Mark the bathroom water shutoff, main water, and the circuit feeding the vanity and fan. If your toilet will be removed for more than a day, plan a temporary cap and ventilation to avoid odors. A simple tote with shop wipes, bags, and a vacuum ready at the door speeds cleanups between tasks.
[Pro Note]
Take “before” photos of every surface and a short video of the path from the entry to the work area. Those images help with insurance questions, warranty records, and end-of-day punch lists.
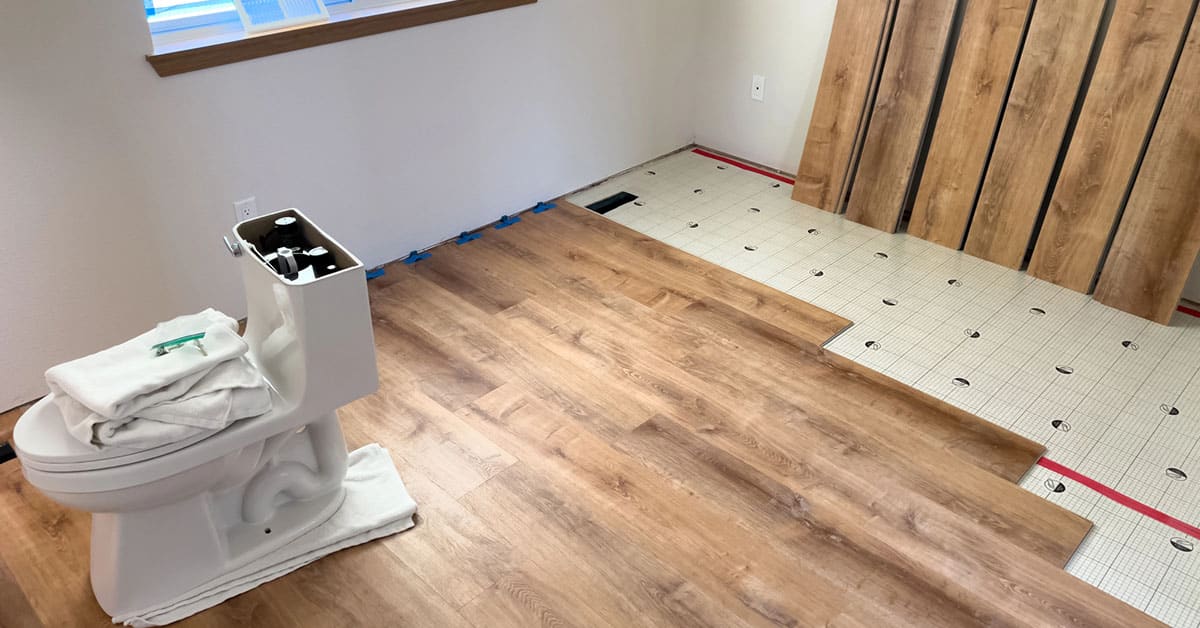
Open carefully, verify conditions
Demolition tells you what the next steps really require. Once finishes are off, pause and inspect framing, plumbing routes, and the subfloor. This is also where schedules can be paused for closer inspection, addressing, and documenting issues, especially highlighting what inspectors look for during bathroom remodels.
Keep in mind that bathrooms are hard-working spaces, so confirm that your floor system is stiff enough and is not experiencing too much deflection for tile before you rebuild. Deflection is the small bend that can happen when you walk on a floor, too much flex leads to hairline cracks and hollow-sounding tiles. Tile industry guidance explains that floors need to be strong enough for tile loads, which helps reduce movement-related failures, according to the Tile Council of North America. If in doubt, add blocking or sister joists now, while the room is still open.
Look for water staining, soft drywall outside wet areas, and any dark spots around the old shower or tub. Note vent runs, drain sizes, and where studs might interfere with future niches or a shower bench. If you plan to add a glass door, confirm there is solid framing at the hinge side so mounting points hold for the long term.
[Safety Tip]
Structural changes, electrical modifications, and new plumbing routes are pro-only tasks. Calling them early keeps the work safe, inspected, and on schedule.
Plan clean demolition and smooth daily routines
A smooth job sets the tone for the whole project. Understanding the start-to-finish planning process helps homeowners see why early organization and daily routines matter so much once construction is underway. Start each day by reviewing the plan and ending with a short cleanup. Keep a small tool caddy for caps, tape, and markers so every ‘find’ is labeled before anyone forgets. If you discover a vent stack where a planned niche should go, record the measurement and snap a photo. Clear notes help avoid redoing work later and help avoid costly surprises caused by last-minute changes or missed details.
Stage debris in lined bins to avoid trails through the house. Bag small tile pieces and broken drywall before they go in the can, then remove bags as they fill. Run the vacuum and damp-wipe the path at day’s end so your home stays livable between phases. If you need the bathroom overnight, coordinate temporary fixtures or a safe path that avoids fresh work.
Think ahead to rough-ins. If you are adding a hand shower or a seat, mark those centerlines while walls are open and confirm fixture and finish decisions before surfaces close. Verify where the light switch and fan control will land relative to the new door swing. The few minutes you spend here save hours once backer board and tile arrive.
[Pro Note]
Keep a simple log: today’s tasks, discoveries, measurements, and tomorrow’s plan. Five lines a day is enough to prevent confusion, missed deliveries, and change-order noise.
Frequently asked questions
How should I protect floors and furniture near the bathroom?
Cover floors along the path with protective runners or boards and use a zipper door at the bathroom entry. Remove décor from nearby walls and set a sticky mat at the threshold. Keep a trash can and shop vacuum just outside the room so debris and dust do not travel.
What should I do the day before demolition starts?
Clear the room, empty storage, and box fragile items. Label water shutoffs and the electrical breaker for the bathroom. Stage protection materials, a cleanup tote, and trash bags at the door. If the toilet will come out, plan a temporary cap to keep odors down.
How do I know if my floor is strong enough for tile?
After removing finishes, check for noticeable flex while walking. If the floor feels bouncy or you see gaps at old tile cracks, discuss reinforcement with your contractor. It is easier to add blocking or sister joists now than to fix cracked tile later.
Should I take photos during demo?
Yes. Photos and short videos document what was found, where lines run, and any measurements you will need later. They also help with inspections, warranties, and ordering the right trim. Keep them in a shared folder with dates and short notes for quick reference.
What to do next
Walk the path, lay down protection, and set containment before tools come out. After you open the room, slow down and verify structure, routes, and measurements, then plan tomorrow’s work. When you are ready, we will map these steps to your space and schedule a clean, orderly start to demolition.
Sources
- Tile Council of North America — Deflection FAQ — https://tcnatile.com/resource-center/faq/deflection/ — 2025-09-08
- MAPEI — Ultraflex LHT Mortar Instructions (deflection guidance context) — https://cdnmedia.mapei.com/docs/librariesprovider10/products-documents/17_3000352-ultraflex-lht-sg-instructions_81a0e11ee26d4a87bfa9d7a4552a8cdc.pdf — 2021-05-01