Pass rough-in inspections with safe plumbing, protected wiring, and ventilation that actually moves air outside.
Your bathroom remodeling project will run smoother from demo to finish if you focus your rough-in on the three pillars inspectors check most: plumbing that prevents leaks and scalds, electrical that protects people, and ventilation that removes moist air to the outdoors. When these items are planned for early and installed correctly, inspections move quickly. When they are rushed or improvised, schedules slow down. This level of coordination is part of successful bathroom remodeling, especially on projects that involve multiple inspections and trades.
TL;DR:
- Use the right shower valve, set to a safe max temperature, and size drains correctly.
- Protect people with GFCI, a dedicated 20-amp circuit, and wet/damp-listed fixtures.
- Vent the bath fan outdoors with a short, smooth duct and plan for makeup air.
- Label lines, take photos, and invite the inspector early if you are unsure.
Plumbing: what inspectors want to see
Plumbing is where water control and safety begin. Inspectors look for properly placed drains, venting that keeps traps from being pulled dry, and a mixing valve that guards against sudden temperature spikes. That valve choice matters more than most homeowners realize because it keeps the shower comfortable when someone flushes or a washer starts.
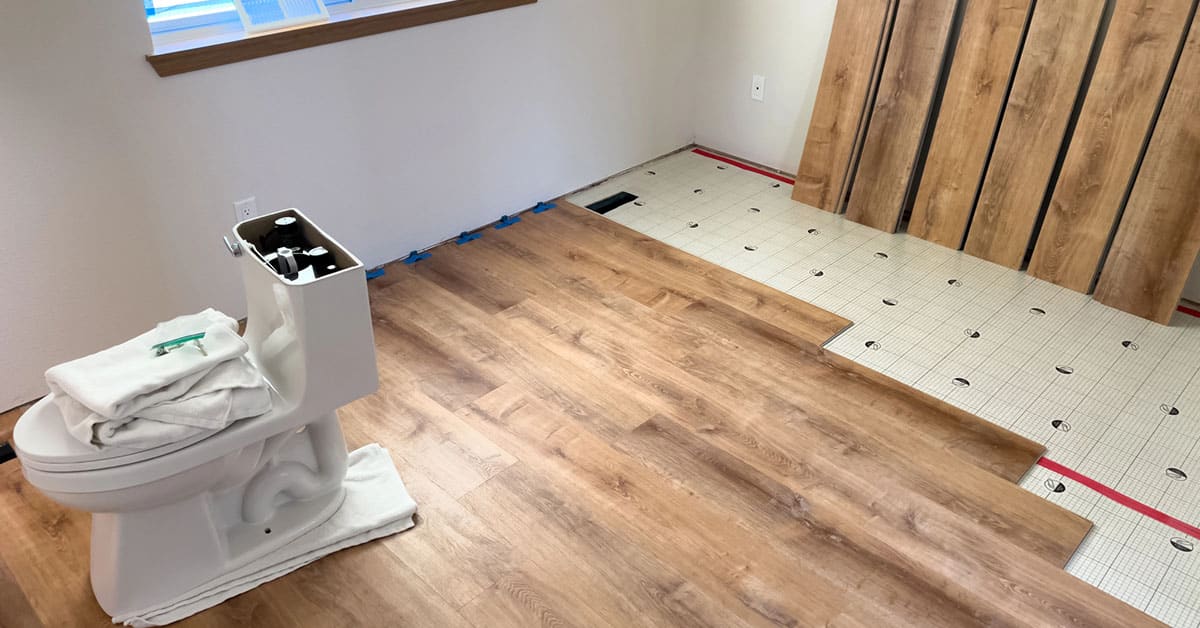
A good rough-in sets the receptor center, drain height, and valve location before any tile is planned, which prevents corrections that can delay inspections later. Your contractor will place blocking for future accessories, then mount the mixing valve at a comfortable reach. The valve must be an automatic, compensating type (pressure-balance or thermostatic) and be set so the outgoing water cannot exceed a safe limit, according to ASSE International.
Inspectors also watch for neat, supported lines, proper joint types, and solid backing around future penetrations. Small details, like keeping screws clear of the future pan line or keeping a shower arm straight and adequately braced, prevent leaks later. If a bench or niche is planned, rough-in is the time to position supplies, drains, and blocking so those features integrate cleanly with the waterproofing phase that follows. This sequencing is part of the start-to-finish planning process that keeps work moving forward without backtracking.
[Safety Tip]
Ask your contractor to set, mark, and test the anti-scald limit on the mixing valve during rough-in. It is a simple step that prevents burns and keeps daily showers comfortable.
Electrical: safety and capacity inspectors verify
Bathrooms mix water and electricity, so inspectors focus on shock protection and circuit capacity. GFCI protection reduces shock risk by shutting power quickly if a fault occurs. Expect them to confirm GFCI protection on receptacles and that a 20-amp branch circuit serves bathroom outlets. They will also check that fixtures located in tub or shower zones are listed for wet or damp locations and that boxes, cables, and bonding are installed correctly.
Clear labeling helps everyone. Mark the home run for the bath circuit in the panel, identify which switch controls the fan, and leave a simple diagram taped near the door. Inspectors appreciate clean staples and supports, correct box fill, and grounded metal parts. These details look small, but they’re the reason trippers do not happen and lights continue to work year after year. When these details are skipped, inspections often pause projects until corrections are made.
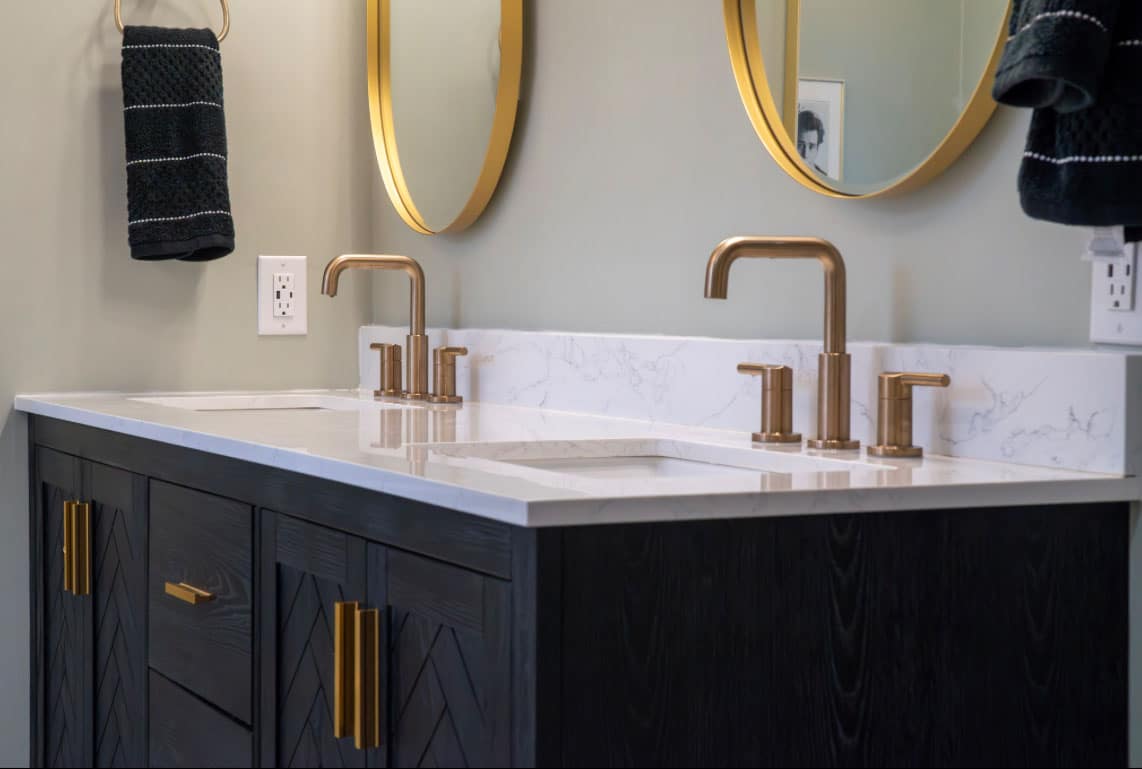
If you want a wall-mount faucet or a lighted mirror, rough-in is when to set exact heights and confirm wire locations against the product spec sheet. After tile is installed redoing all that work is expensive, and planning ahead helps avoid costly surprises tied to failed inspections or last-minute changes. Keep a folder of printed cut sheets in the room so the inspector and crew can confirm measurements together.
[Pro Note]
Electrical is a pro-only task and must pass inspection before walls close. Clear routing, solid boxes, and proper device ratings make approvals straightforward.
Ventilation: outdoor exhaust and makeup air
Moisture is the enemy of paint, drywall, and wood. Inspectors look for a mechanical bath fan and a duct that takes humid air to the exterior. “To the attic” does not count. Bathrooms are typically required to have mechanical ventilation, even if there is a bathroom window, according to the International Code Council. The bathroom exhaust system must send air outside through a proper cap and damper. Confirming this early on prevents inspection delays caused by incorrect duct routing or termination.
A good vent run is short and smooth, with gentle curves and sealed joints. Long or crimped ducts reduce airflow, which leaves mirrors foggy and moisture in the walls. Plan the fan location with the future shower in mind, then route the duct to minimize elbows. At the door, leave a small undercut so the fan can pull in makeup air. Without it, even a strong fan will struggle.
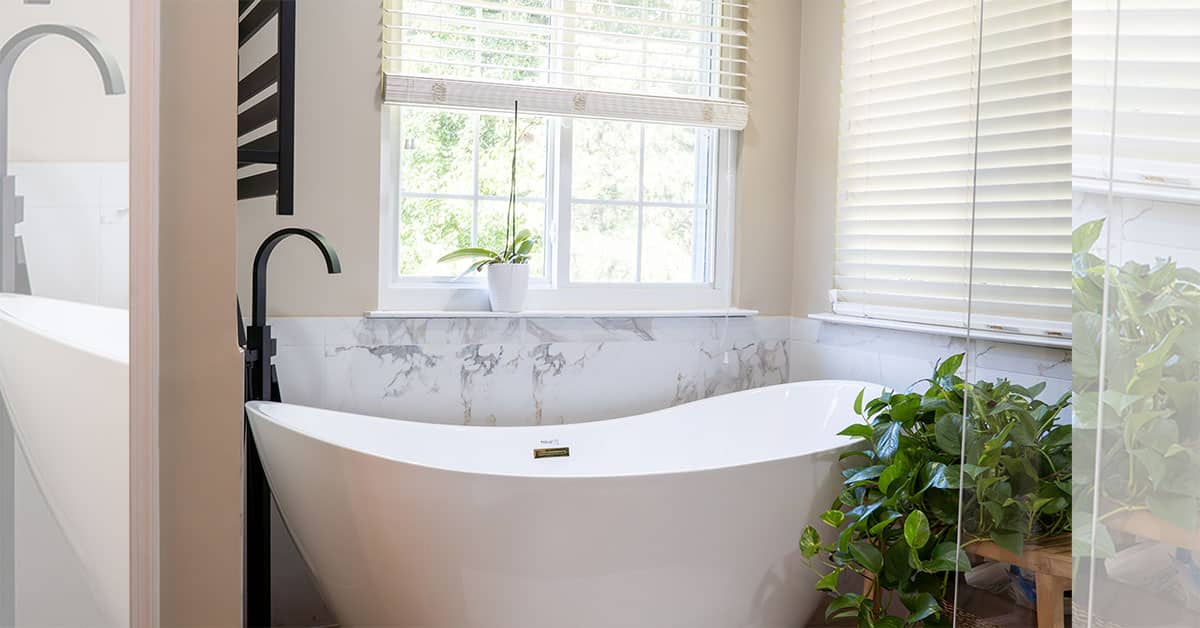
Have a window? It helps with daylight and fresh air, but it usually does not replace a fan for code or comfort. A right-sized, quiet fan on a timer continues to clear moisture after showers, which protects finishes and keeps humidity down throughout the year.
[Safety Tip]
Never vent into an attic or soffit cavity. Trapped moisture can feed mold, warp framing, and ruin insulation.
Frequently asked questions
What plumbing items do inspectors usually flag?
They often flag missing or incorrect mixing valves, unsupported piping, and drains set too high or too low. They also look for proper venting and solid blocking where fittings or glass will mount. Clear labeling and neat supports make approvals faster and reduce punch-list items later.
Do I really need GFCI if I already have a modern panel?
Yes. Bathroom receptacles should have GFCI protection. It reduces shock risk in a space with water and steam. Inspectors also look for a dedicated 20-amp branch circuit to handle hair dryers and grooming tools without nuisance trips.
Does my bath fan still need to run if I have a window?
Yes. A window is helpful, but most bathrooms require mechanical ventilation to move moist air to the outdoors. A fan with a short, smooth duct and a timer keeps humidity in check after showers and helps protect paint, drywall, and cabinets.
What can I do before the inspector arrives?
Tape printed spec sheets for valves, fixtures, and the fan to a wall in the room. Label shutoffs and breakers. Take photos of piping, wiring, and the vent path. A clean workspace with measurements marked makes the inspection faster and supports timeline readiness before construction continues.
What to do next
Walk your rough-in with your contractor, using this checklist: safe mixing valve set to a reasonable max, protected wiring with the right devices, and a duct that vents outside. Label, photograph, and keep spec sheets handy. When you are ready, we will help you confirm the last details and schedule inspections with confidence.
Sources
- ASSE International — Temperature Actuated Mixing Valves for Hot Water Distribution Systems (ASSE/ANSI 1017-2023) — https://codes.iapmo.org/epubs/Standards/ASSE/ASSE-1017-2023/ — 2025-09-08
- International Code Council (ICC) — Bathrooms: mechanical ventilation — https://codes.iccsafe.org/s/IRC2021P3/chapter-3-building-planning/IRC2021P3-Pt03-Ch03-SecR303.3— 2025-09-08
- International Code Council (ICC) — Exhaust Systems (bath fans terminate outdoors) — https://codes.iccsafe.org/content/IRC2021P1/chapter-15-exhaust-systems — 2025-09-08