Choose glass and hardware that protect people, look clean, and last.
The last few details in a bathroom remodel matter more than most people think. When you get things like door swing, glass choice, and the final fit right, the whole space works better, it feels safer, stays cleaner, and stays beautiful longer.
TL;DR:
- Plan an outward swinging shower door with clear space to exit.
- Use safety glazing near tubs and showers, and verify markings before install.
- Dry-fit glass, check walls for plumb, and seal the right joints for a quiet, clean look.
- Treat towel bars, handles, and hardware as a system so nothing loosens over time.
Make the shower door a safety feature
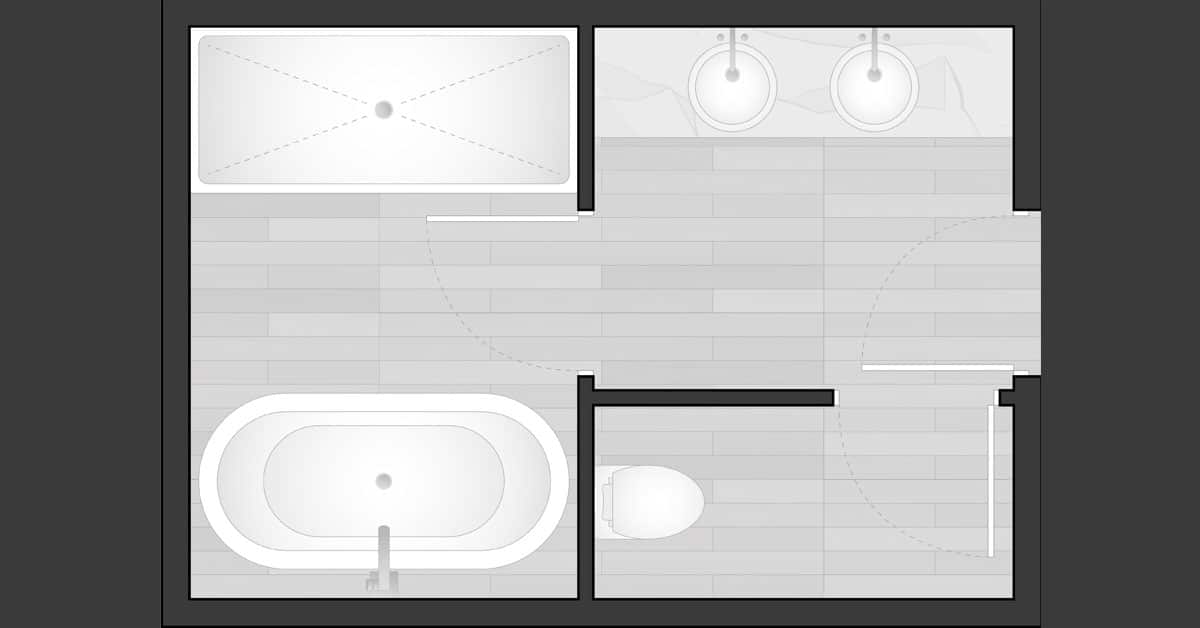
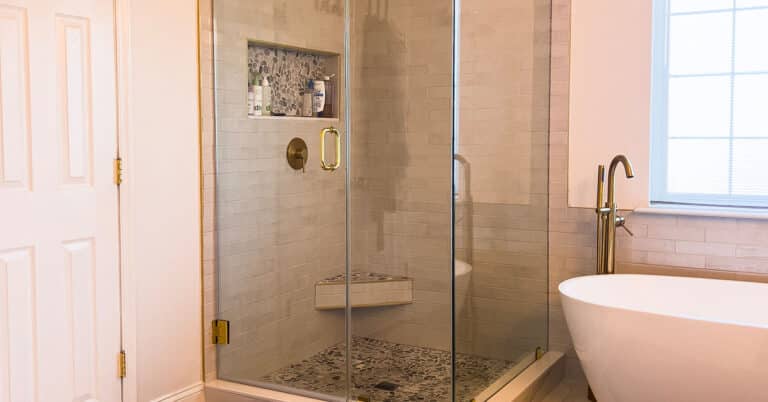
A shower door should help you, not fight you. Plan for an outward swing so you can step out easily, even if you slip or need a hand. Check the door arc on the floor and confirm it clears the vanity, the toilet, and any towel hooks. This small drawing step prevents big on-site surprises.
Hardware placement matters. Handles should be easy to reach from inside and outside, and a towel bar on the glass should not double as a grab bar. Glass hardware is for towels and grip, not body weight. If you want true support, plan blocking in the wall and use rated grab bars at the right height.
Double-check the threshold and curb. A straight, level surface makes the sweep seal properly and keeps water in the shower. Ask your installer to dry-fit the door, set the hinges, and test the swing before final holes are drilled. Hinged shower doors are expected to open outward for safer egress, according to the International Code Council.
[Safety Tip]
Verify the door swing and clear path on paper first. A few minutes with tape on the floor saves time, holes, and headaches later.
Choose the right safety glass for the job
Near tubs and showers, the glass should be safety glazing. That means tempered or laminated glass that is designed to reduce injury if it breaks. Look for the etched safety mark in a corner, and confirm it matches the order. Panels near wet areas should meet safety glazing rules, according to the International Code Council.
Tempered glass is heat treated so it breaks into small, pebble-like pieces. Laminated glass sandwiches a clear layer between two sheets so the pieces adhere if cracked. Many homeowners choose tempered for doors and laminated for large fixed panels or where extra hold-together performance is helpful.
Edges and anchors deserve care. Exposed glass edges need a clean finish, and holes for clamps or handles must match the glass order exactly. Field drilling can cause breakage. Make sure walls are plumb so pivot points do not bind, and use the right setting blocks and shims so the panel bears evenly on the curb.
[Pro Note]
Confirm every hole location on the shop drawing before fabrication. Adjusting hardware is easy. Changing a hole in tempered glass is not.
Fit, seal, and finish for a clean, quiet result
Before final install day, stage a dry-fit. Set the panel, check the reveals along the curb, and confirm hinge action. Small shims and careful hinge adjustment can correct a lot, but only if you catch issues before sealant goes on. Keep the work surface dust free so seals adhere and stay clear.
Seal the right joints the right way. Use flexible sealant where the glass meets tile and at changes of plane. A neat bead keeps water out of stress points and allows tiny movements without squeaks or cracks. Avoid hard grout against glass edges, which can bind or chip over time.
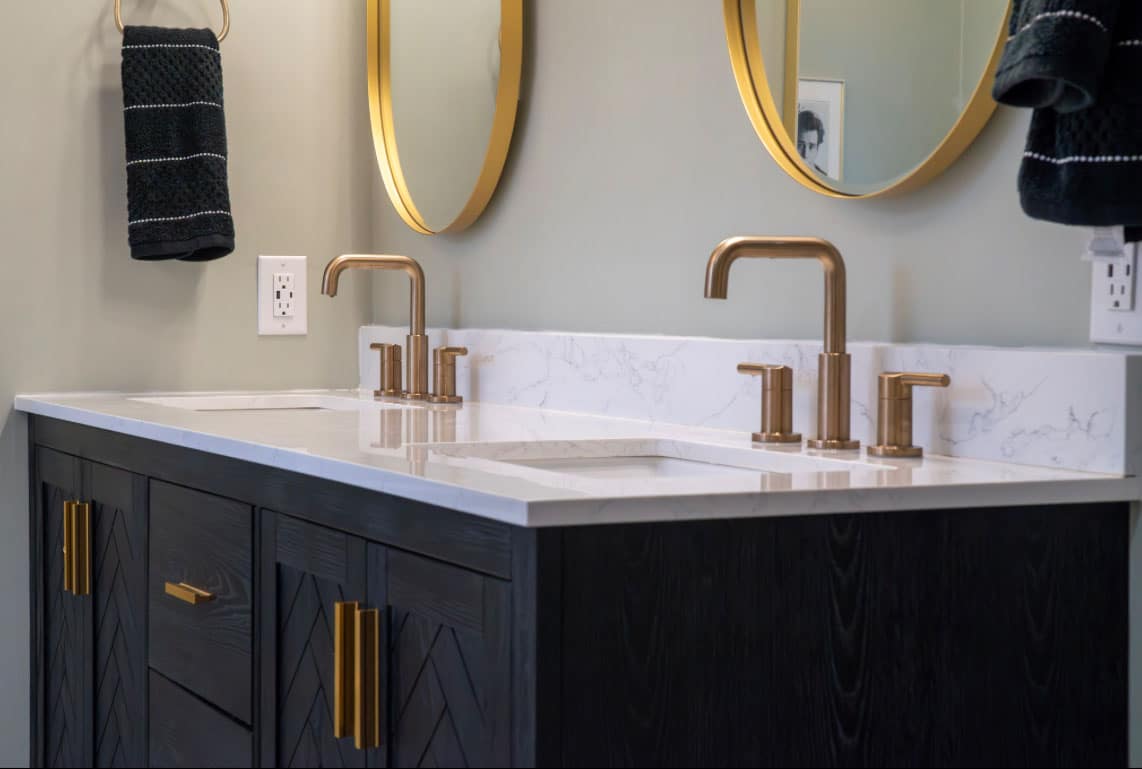
Think through the rest of the finishing touches. Vanity mirrors should sit level with the backsplash and leave room for faucet handles to move freely. Shower heads, slide bars, and accessories should line up with grout lines where possible for a tailored look. A quick walk-through with blue tape catches gaps and sharp edges before anyone calls the job complete.
[Myth vs Fact]
Myth: A towel bar on the glass can act like a grab bar. Fact: It is not rated for body weight. Use a wall-mounted, rated grab bar where you need true support.
Frequently asked questions
Do shower doors have to open outward?
Plan for an outward swing so stepping out is easy and safer. It helps you exit if you slip, and it gives a helper room to reach you. Sketch the door arc, check for clearances, and confirm the hinge side has solid structure for mounting.
What is the difference between tempered and laminated glass?
Tempered glass is heat treated so it breaks into small pieces that are less sharp. Laminated glass has a clear interlayer that holds cracks in place. Many projects use tempered for doors and laminated for large fixed panels or where extra hold-together performance is helpful.
Can I put a towel bar on my shower glass?
Yes, but treat it as a towel bar only. It is not designed to support body weight. If you need support, plan rated grab bars anchored into blocked walls at the right height, and keep the glass hardware for towels and handles.
How do I keep the glass looking clear?
Start with a clean install. Use the right sealants at edges and avoid hard grout against glass. Wipe squeegee lines after showers, and keep the sweep free of soap buildup. Clear water paths and good daily habits help the glass stay bright.
What to do next
Walk the bath with your installer to confirm the door swing, safety glass markings, and hardware locations. Dry-fit the glass, check for plumb walls, and plan clean, flexible seals where surfaces meet. When you are ready, we will help you order, schedule, and set your finishes so the last step feels easy.
Sources
- International Code Council (ICC) — Shower door egress — https://codes.iccsafe.org/s/IRC2021P3/chapter-27-plumbing-fixtures/IRC2021P3-Pt07-Ch27-SecP2708.1 — 2025-09-08
- International Code Council (ICC) — Safety glazing near tubs and showers — https://codes.iccsafe.org/s/IRC2021P3/chapter-3-building-planning/IRC2021P3-Pt03-Ch03-SecR308.4.5 — 2025-09-08