Choose surfaces that look great today, bond correctly, and keep looking great for years.
When remodeling your bathroom, if you focus on two things most homeowners never see but always wish they though of later, you will be much happier with the outcomes. What are those two things? Using setting materials that match the tile, and flexible joints that let the room move without cracking.
TL;DR:
- Match mortar and grout to the tile size and location for a stronger bond.
- Use flexible sealant at corners and perimeters instead of hard grout.
- Plan layouts, edges, and trims before setting the first tile to avoid rework.
- Keep surfaces clean and flat so everything bonds evenly and cures right.
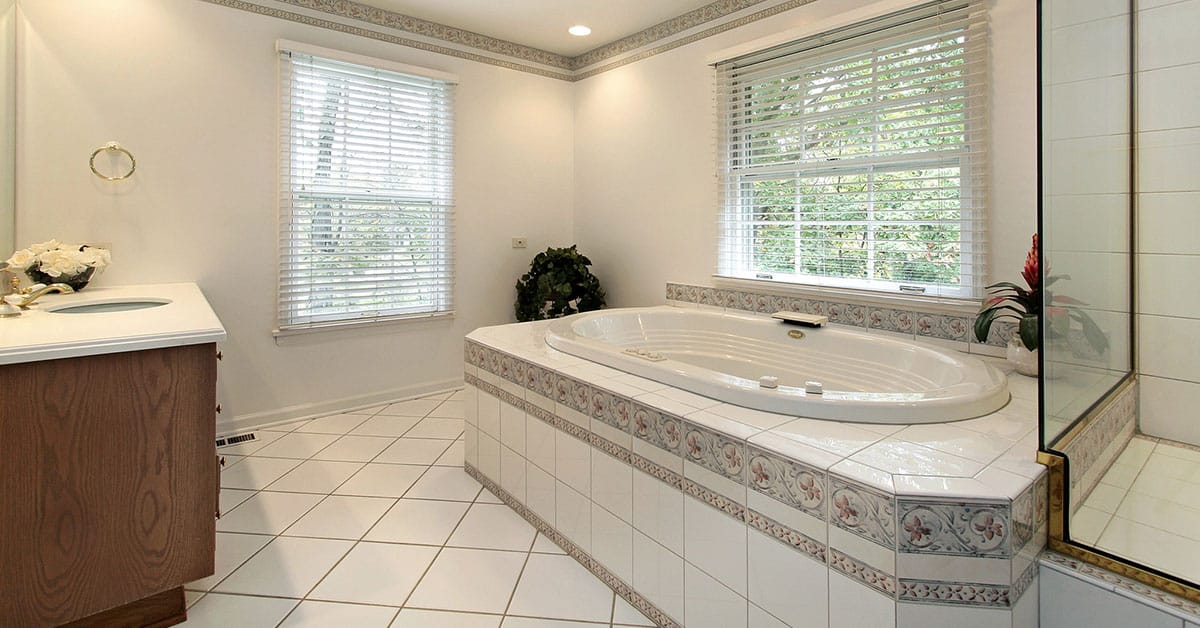
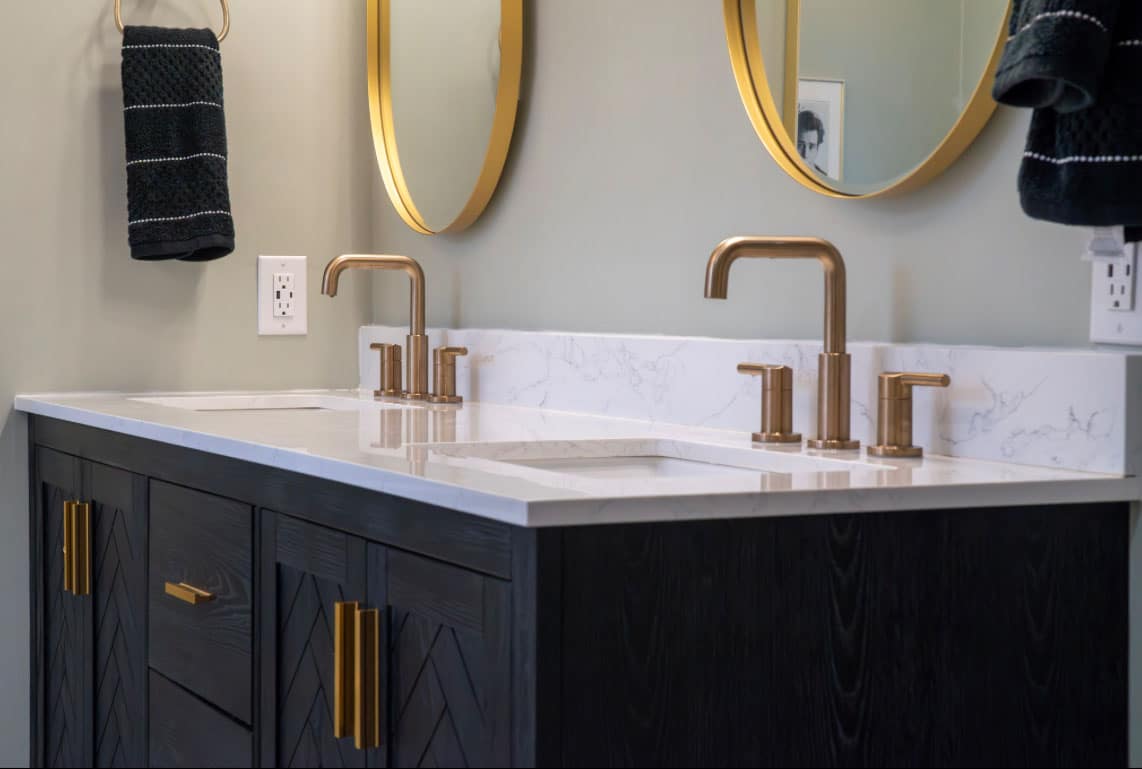
Set tile with the right mortar and grout
The tile you see is only as good as the materials that hold it. Not all mortars are the same. Large and heavy tile needs a mortar designed to support its weight so it stays flat on the wall or floor. Smaller tile may use a different blend that wets out quickly and creates a strong, even bed. Picking the right product here keeps tiles aligned, prevents hollow spots, and saves you from callbacks.
Location matters too. A shower sees daily water, heat, and cleaning. That means the bonding layer and the grout should match those conditions. High-performance cement grouts resist staining and wear better than basic mixes, and epoxy grouts can shine in tough areas that see constant splash. They cost more up front, but they reduce scrubbing and help the finish last.
If you are working with a pattern that mixes sizes, plan the setting sequence. Tackle the reference lines and the most visible walls first, then fill the field. Keep the mortar fresh, mix in clean buckets, and spread only what you can cover before it skins over. According to LATICRETE’s ANSI overview of setting materials, simple habits like these make the bond stronger and the tile straighter.
[Pro Note]
Back-buttering large tiles helps achieve full contact. Press, slide slightly, and lift a test tile now and then to confirm coverage before moving on.
Use movement joints where the tile meets the world
Houses flex with seasons, showers warm and cool, and different materials expand at different rates. Hard grout in the wrong places will crack. That is why tile pros include movement joints at changes of plane, around the room’s perimeter, and where tile meets a different material. These joints use a quality, flexible sealant instead of grout so the finish can move without breaking.
Corners deserve special attention. Where two walls meet, fill that joint with a sealant rated for wet areas rather than grout. The same goes for the wall-to-floor joint and around the top of a shower curb. Perimeters also need a small gap covered by trim or sealant so the field can expand and contract. These small choices protect the pretty face of the tile by letting the structure behind it breathe.
If you are picturing big, chunky caulk lines, do not worry. Proper joint design uses backer rod to set the depth and then a bead that finishes neat and slim. According to LATICRETE Technical Data Sheet 252, industry guidance recommends the use of flexible sealants at these locations, which is supported by the EJ171 movement-joint approach and ASTM C920 sealant ratings.
[Safety Tip]
Do not grout changes of plane or the perimeter. Use a compatible, flexible sealant so corners do not crack and water does not sneak in.
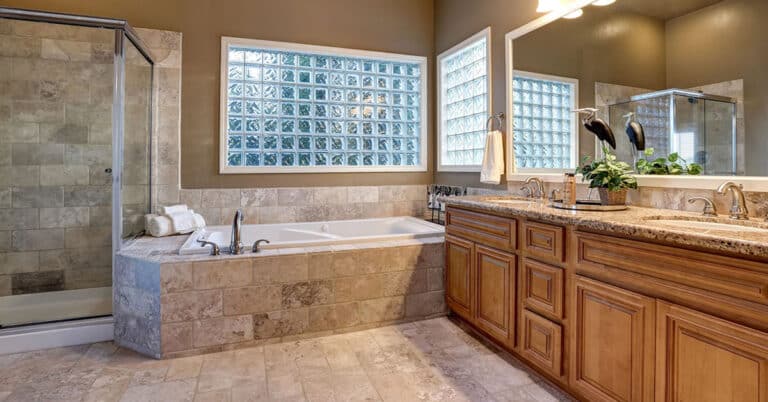
Plan edges, flatness, and slip-aware choices
Great-looking bathrooms come from details. Start with flatness. Wavy walls make lippage (uneven tile edges) more likely, and thin tiles show every bump. Before setting, skim low spots and knock down ridges so the surface is smooth and true. This makes it easier to keep grout lines even and edges crisp.
Next, think about edges and trims. Exposed tile edges can look sharp or unfinished. Decide early whether you want metal profiles, bullnose pieces, or mitered corners. The choice affects cuts, layout, and order timing. It also helps avoid awkward slivers at the end of a wall or around a niche.
Finally, consider where water will land underfoot. In showers and other wet spots, choose a floor tile with slip-tested performance, then confirm it on the label or spec sheet. Gloss alone does not predict traction. Real-world slip testing is designed to tell you how a tile behaves when wet, according to the Tile Council of North America. Pick the look you love, then verify the test result to keep footing steady.
[Myth vs Fact]
Myth: “If the tile looks matte, it is safe.” Fact: Only a slip test tells you how a tile performs when wet. Check the rating, then decide.
Frequently asked questions
What mortar should I use for large format tile?
Large and heavy tiles benefit from a mortar made to support their weight so pieces stay flat. Check the bag for language that matches your tile size. Mix in clean buckets and spread only what you can cover before the surface skins over.
Where should I use caulk instead of grout?
Use a flexible, wet-area sealant at changes of plane like wall-to-wall and wall-to-floor corners, and around the perimeter where tile meets other materials. These joints allow small movement without cracking and help keep water out of stress points.
Is epoxy grout worth it in a shower?
It can be. Epoxy is tough, dense, and more stain-resistant than basic cement grouts. It costs more and requires careful mixing and cleanup, but many homeowners find it pays off in high-splash zones that see daily use and frequent cleaning.
How do I avoid lippage on large tiles?
Start with a flat substrate. Use the right trowel notch, keep your mortar fresh, and set reference lines before filling the field. Lift a tile now and then to check coverage. If edges still rise, pause and correct the surface before continuing.
What to do next
Bring your favorite tile samples, plus the mortar and grout data sheets, to the selection meeting. We will match materials to tile size and location, plan movement joints, and choose clean edge details. When it is time to set, you will have a clear plan that looks beautiful and lasts.
Sources
- LATICRETE — ANSI Overview for Tile Setting Materials (TDS 137) — https://cdn-global.laticrete.com/-/media/project/laticrete-international/shared/files/support-and-downloads/technical-datasheets/tds137ansi.ashx — 2025-09-08
- LATICRETE — Movement Joints and ASTM C920 (TDS 252) — https://cdn-global.laticrete.com/-/media/project/laticrete-international/shared/files/support-and-downloads/technical-datasheets/tds252.ashx — 2021-06-01
- Tile Council of North America — DCOF Overview — https://tcnatile.com/resource-center/dynamic-coefficient-of-friction/ — 2025-09-08